
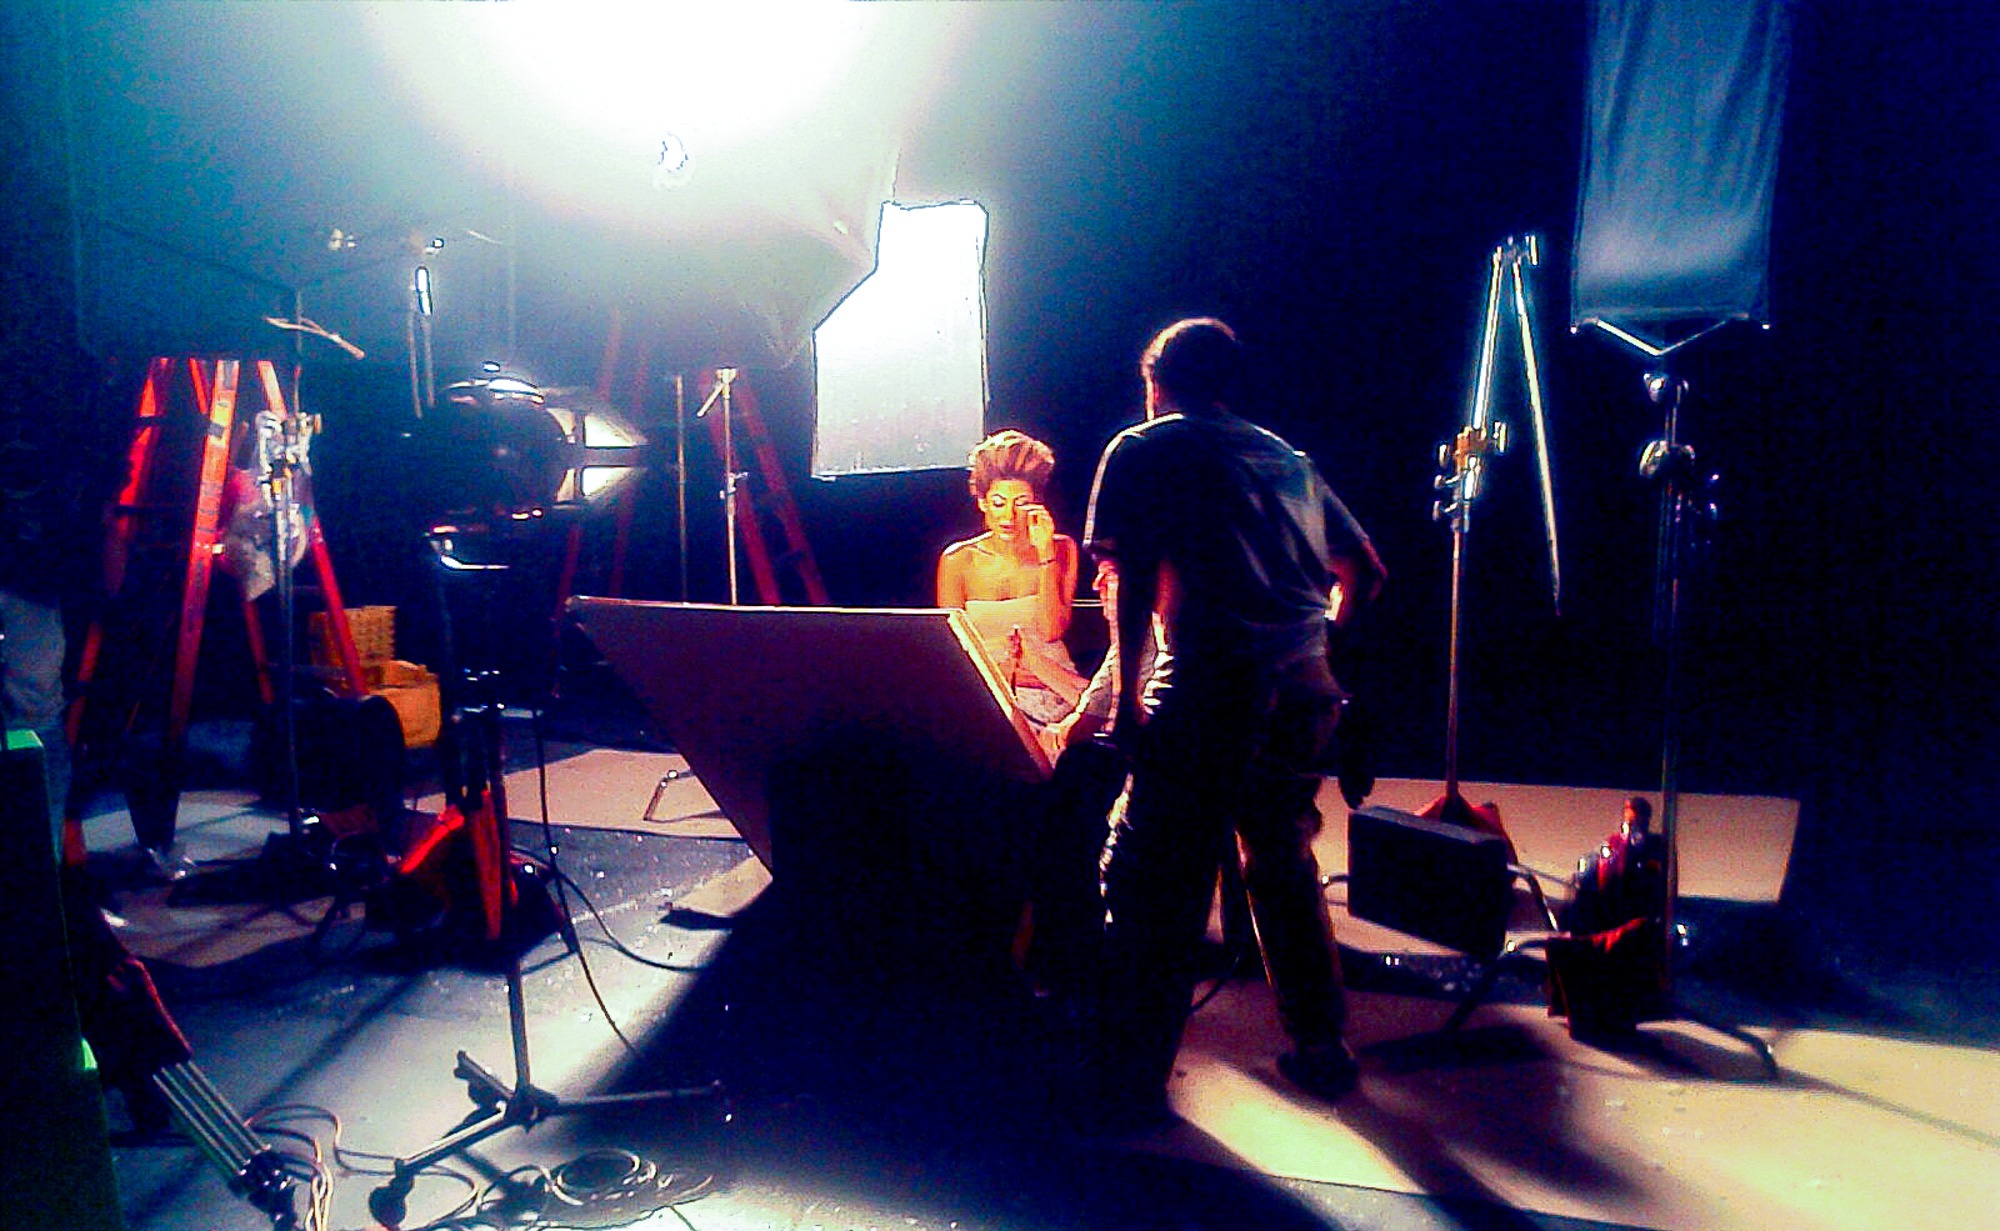
Har Mar Superstar – Tall Boy
Over the past 20 years, I have worked on motion picture projects with budgets that range from huge, to non-existent. Between these, I have learned that lighting on low budget production is usually a lot more challenging that lighting on a big budget.
Let’s face it, a big budget offers the entire crew several advantages over their low budget counterparts.
First you have time. Not only do big budget productions have much longer shooting schedules that allow for more time between setups, they also have more time budgeted in pre-production for planning.
The second Advantage a large budget production has over a low budget production is equipment. A large budget production will practically have a lighting warehouse on trucks waiting to solve any creative problem that may arise. Lighting on a low budget production usually means the lighting crew is sharing a truck with another department (if no the whole production), and in some cases, the lighting equipment is reduced to whatever fits in the DP or Gaffer’s personal vehicle!
The third major advantage lighting on a big budget has over it’s low budget counterparts is crew. On a big budget picture, you are going to have an adequate amount of Grips, and Electricians who know their jobs, and know how to get what you want set up in a fast, efficient, and safe manner. When lighting on a low budget production, if you are lucky enough to have a crew, it is usually a bunch of people that “really want to direct”. The have no clue how many amps are on that circuit, what a tweenie is, or how to dress a cable.
A lot of less experienced DP’s or Gaffers think their job is to make the scene look amazing. This is wrong. Your job is to make the scene look as good as you can within the constraints you are working with. When many a lighting guy is faced with 15 minutes to light a scene and they have 3 of the wrong lights, and an inexperienced crew, they tend to send the crew to get coffee while they spend an hour tweaking those three lights to make something that is very pretty.
Meanwhile, your actors are getting impatient, which will affect their performance. Your AD is screaming about running out of time, and your Director is so worried about making up the 45 minutes you just cost the production that he doesn’t direct properly. And for what? You could have made the scene look pretty good (instead of real good) in 15 minutes and had a much better scene in the end.
With that being said, there are several things you can do when lighting on a low budget production that will give you finished product much higher production value, and help you land that next gig.
Planning is essential When Lighting on a Low Budget Shoot
Putting in the extra work in preproduction will save you a lot of problems during production. Read the script, study the scenes and go to the location walk throughs and script read throughs. If you know where and how a scene will be shot, you can plan lighting setups in a way that will require less time between setups. Knowing the availability of power and available places to place and rig equipment will help you choose the gear that is going to work best.
Light for the Whole Scene
Someone’s Knocking at the Door
When setting up the lighting at the beginning of a scene, be aware of where the camera will be throughout the scene. You can paint with light, and make a scene look like an artistic masterpiece, but if all your lights are in the frame when you move to the next setup, you did a shitty job. Anyone can make a scene look good if they have all the time in the world to light it, but if you don’t get all of your setups shot by the end of the day, you are not doing a good job. The real “art” to lighting on a low budget is making it look good, while still being fast. Every time the first AD yells “waiting on lights” your chances of being rehired by that producer or director drop.
We all know that the camera is not supposed to “cross the line”, therefore lights that are across the line will not end up in the shot. (they will still need to be adjusted if the camera crew comes between the light and the action, but that is easier to deal with then having your lighting rig end up in the shot). Anticipate where the camera will be, and light in the wide knowing where the camera will be for the tights.
Justify your Lighting, and make use of Practicals.
This could be tip 3 and 4. However, they go together, so I am going to put them together. Now I am sure there are arguments all over the internet about weather you should justify your lighting or not. The truth is, you don’t need to… but it makes things easier. Knowing the “source” of your light allows you to move your fixture, and still make it look like it is coming from that “source”. It doesn’t matter if the “source” is a window, a practical, or a fireplace, If you know where the audience thinks the light is coming from, you can figure out where to move your fixture to light the scene in a way the audience will still accept is coming from the “source” they accept it to be coming from.
And if your “source” is a practical? Use the practical. These days with low light sensors on digital cameras, ultra fast lenses, and color correct LED’s, you can get away with using actual practicals far easier then you could have 5, 10 or 15 years ago. Get a couple of these in line dimmers, and make sure to only use dimmable bulbs, and you can practically light a set from practicals… Then you just need to augment that with your studio lighting.
*A lot of people will point out that dimming an incandescent “111” will make it no longer color correct. I am not sure how dimming effects dimmable LED bulbs (if you know, please comment below). However, I found that one of the most important things I ever learned about cinematography came from Roger Pratt. While discussing the making of 12 Monkeys, he mentioned that Terry Gilliam loved very wide angle lenses. These left him with little room to light a scene. He decided to use practicals as much as he could, and stated that as long as the key light’s color temperature matched, it didn’t matter what the color temperature of all the other lights was. To often I have seen inexperienced people freak out about color temperature when it didn’t really matter. I even had a PA go and try to gel an HMI because it was going slightly green. The HMI was shooting through a window in the deep background. It didn’t matter what color it was, it was just there so the end of the hallway didn’t go black… (Alternately, sometimes color temperature is part of an ongoing theme, in which case you need to pay more attention to it… like the bad guy is always shown with cool lighting, and the good guy with warm lighting or some crap like that…)
Turn Something Off!

Easter Bunny Kill, Kill
This is another tip that I learned from a great Gaffer by the name of Ama MacDonald. As lighting professionals, it is our tendency to light things… that’s what we do. But sometimes (okay, a lot of times) we will set up a scene in a way that we think is perfect, and then, once camera is set up, we hear “I don’t like the lighting… something isn’t right”. The normal tendency is to add another light, and sometimes that is what is needed. But a lot of the time, we over lit the scene. Turn something off. You will be surprised to see how many times that makes things “perfect”.
Trust Your Team
As I mentioned above, sometimes on a low budget picture, you don’t have the advantage of having an experienced crew, but you should have someone that knows what they are doing. If you are a Cinematographer, make sure you Gaffer knows what they are doing. They can be an incredible asset. Tell them the look that you want, and make suggestions, but let the Gaffer do their job. They have studied lighting, and most likely have picked up a few tips from previous productions. If you don’t trust you Gaffer to do the job, then you shouldn’t have hired them in the first place. If you are a Gaffer, trust your Cinematographer. Although some cinematographers came from a camera background and may not know as much as you do about lighting, they still know if something looks good through the lens. Figure out early on if your Cinematographer is a Camera guy or a Lighting guy, and adjust your tactics to suit. If the DP started out as a lighting guy, they will probably have a clear idea of how to light the scene, and can be a great asset to your workflow. If they started out as a Camera person, then adjust your questions to be more about the “look” and how many stops over or under key something should be. You don’t want to frustrate them by talking about specific fixtures they may not have experience with.
Of course, lighting is an art, and there are exceptions to every rule. However, knowing these tips will give you a great place to start when lighting on a low budget. Do you have any tips to help when lighting on a low budget production? Let us know in the comments below.
*featured photo was not from a low budget shoot. It was from the Incubus music video for the song Promises Promises